Chimney Cap Installation Services Overview
Visitors can learn about how local contractors install chimney caps and compare service options available in their area.
- - Residential homeowners seeking professional chimney cap installation services to protect their fireplaces and chimneys.
- - Commercial property managers needing reliable local contractors for chimney cap upgrades and maintenance.
- - Home improvement enthusiasts looking to compare and connect with experienced chimney cap installation specialists in their area.

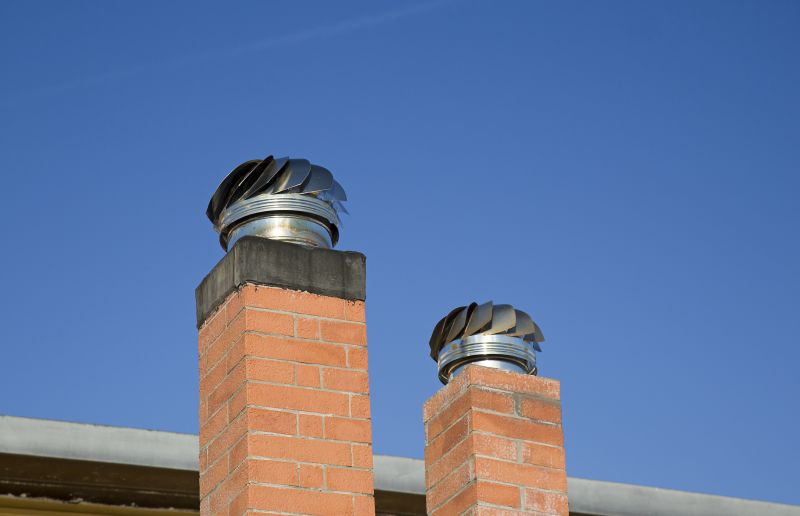
Chimney cap installation is an important service that helps protect chimneys from debris, animals, and weather-related damage. Property owners often seek out local contractors who specialize in chimney maintenance and installation to ensure their chimneys are properly capped and functioning safely. These service providers are experienced in working with various chimney types and can assess the specific needs of each property, providing professional installation that enhances the longevity and performance of the chimney system.
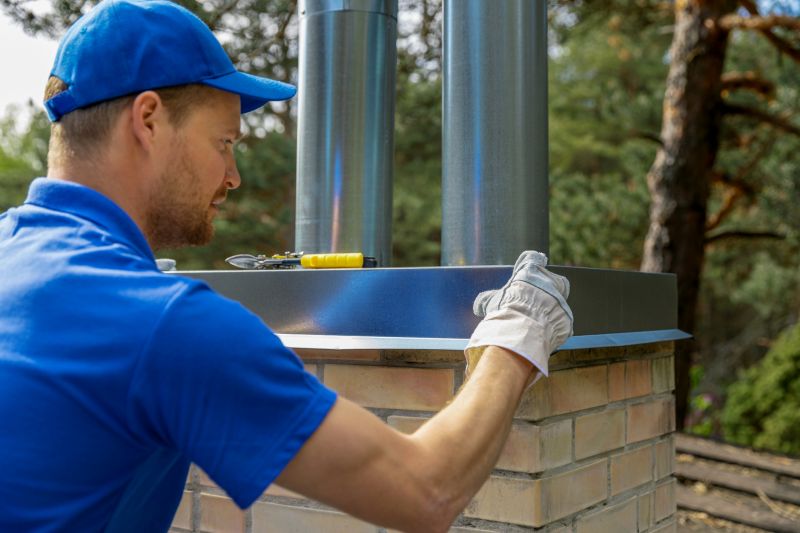
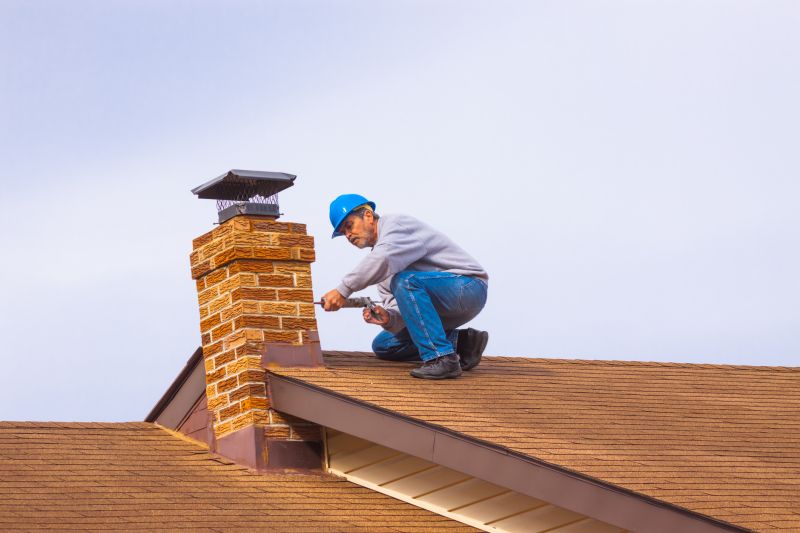
Local pros offering chimney cap installation typically handle a range of related tasks, including inspecting existing caps, recommending suitable options, and ensuring the work is completed to standard. Property owners may turn to these specialists when upgrading or replacing a damaged or outdated chimney cap, or when installing a new one during a broader chimney repair or renovation project. Connecting with experienced local contractors ensures the work is performed accurately and efficiently, helping to maintain the safety and integrity of the chimney system.
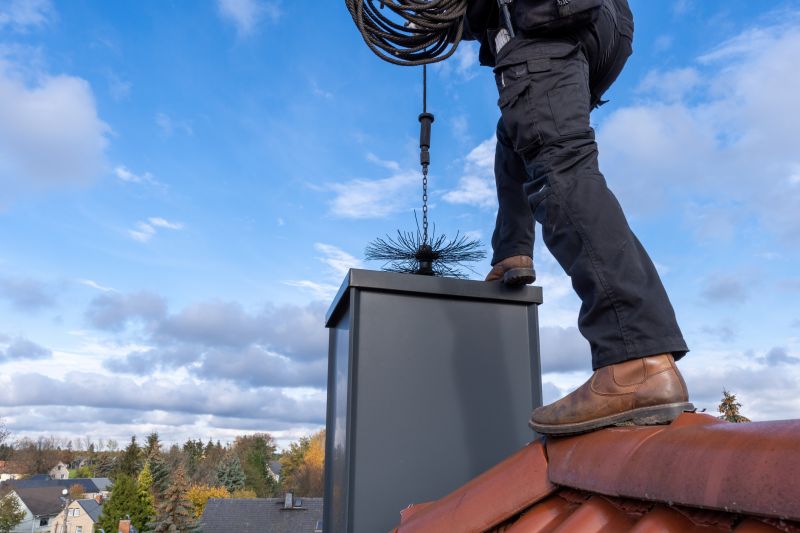
This guide helps visitors understand the key factors involved in chimney cap installation, making it easier to plan their project. It provides insights to compare and connect with local contractors who specialize in chimney cap services. By highlighting essential considerations, it supports informed decisions when choosing a service provider.